By Anastasiia M., payments content, covering crypto processing for iGaming and eCommerce.
A merchant wants to add crypto payments and the first thing they look for is a ready-made plugin for their CMS. But a plugin might not exist, or it hasn't been updated in a long time. Then the main question comes up: how to connect payment without a ready-made module.
In this article, we look at how a plugin, API, and Payment Button differ, how much development each option needs, and which connection method fits different eCommerce platforms.
How a crypto payment ties to an order in a CMS
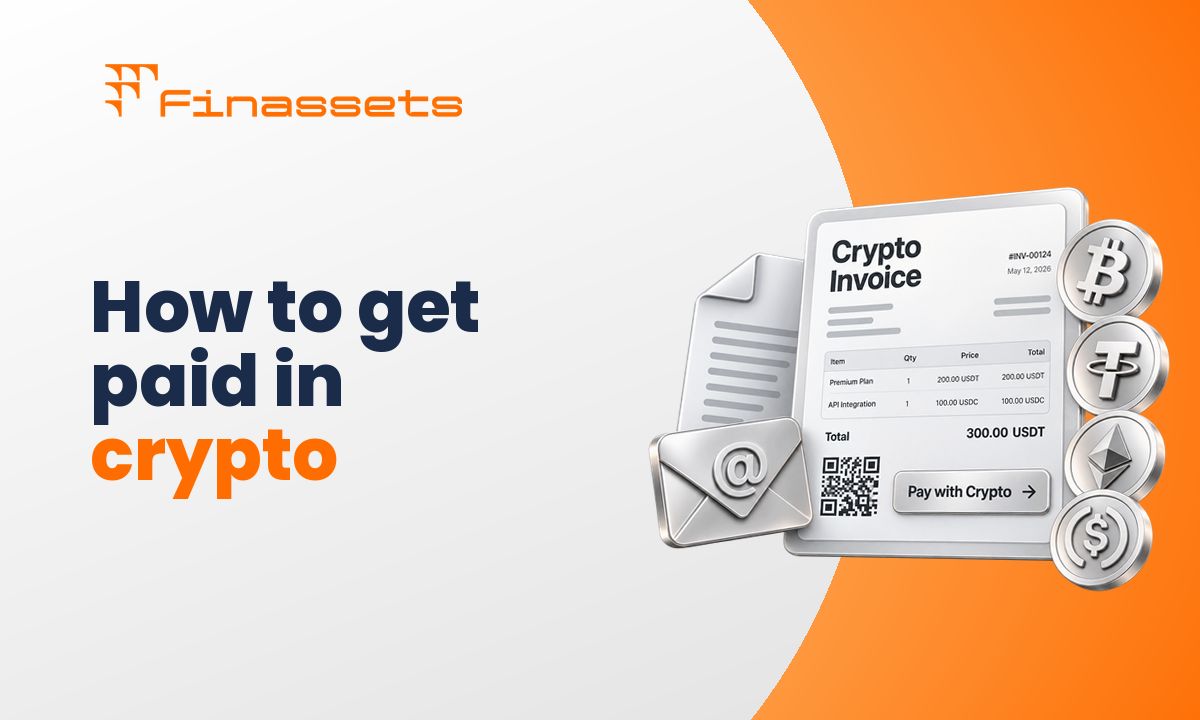
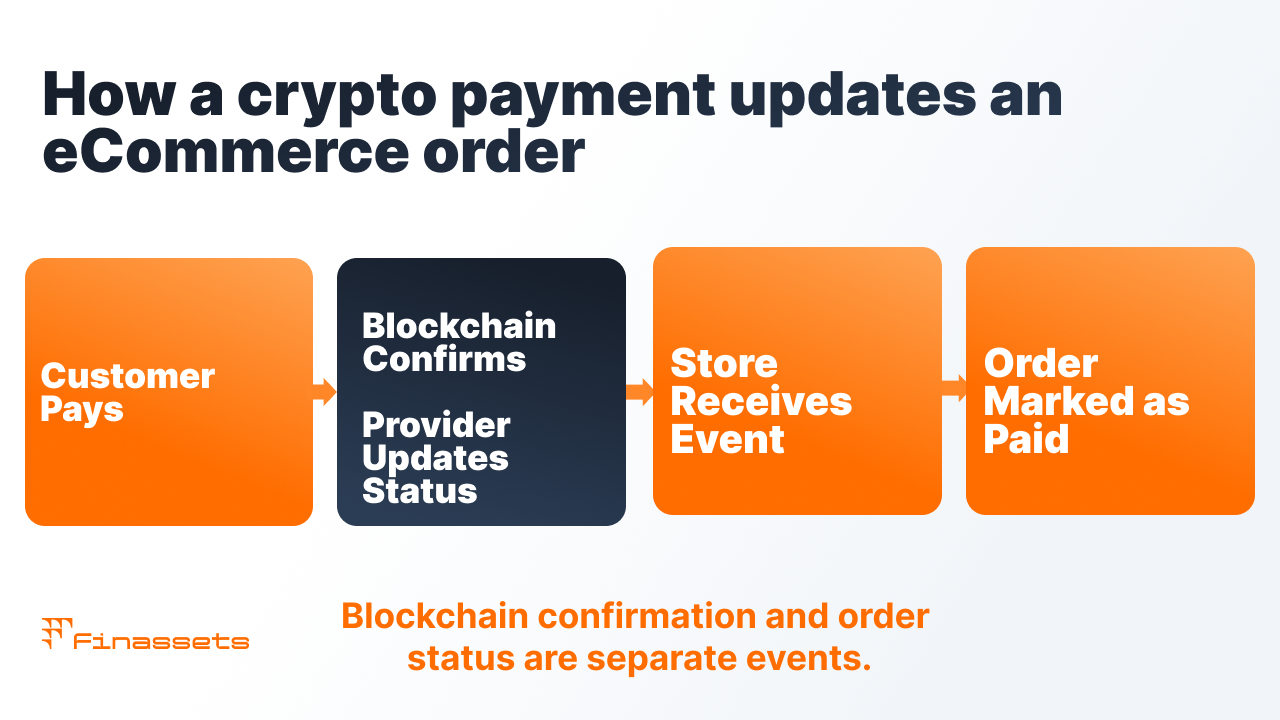
A crypto transaction is confirmed on the blockchain, while the order status is stored inside the CMS. So a payment provider is needed between them, one that creates the payment, tracks confirmation, and passes the updated status to the store.
This layer can be connected through a plugin, an API, or a ready-made UI element. The main difference between the options is how much development they need and the level of control over checkout.
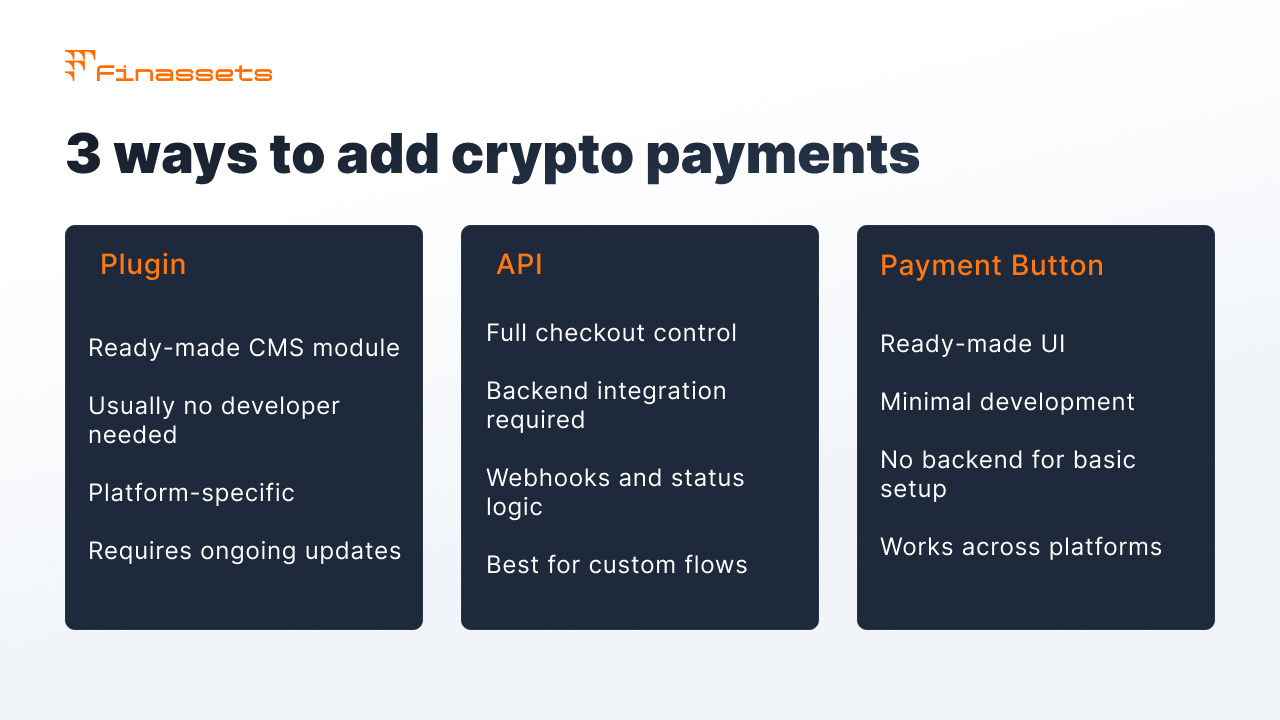
|
Option |
What it means in practice |
Is a developer needed |
|
Plugin / extension |
A ready-made module, installed from a specific CMS's catalog |
Usually not, but the choice is limited and depends on the platform |
|
API |
A full integration: creating the payment, receiving webhooks, updating order status in code |
Yes |
|
Hosted checkout / Payment Button |
A ready-made code snippet inserted on the page, payment logic runs on the provider's side |
Minimal, usually just a one-time front-end developer task |
Not having a plugin doesn't mean integration is impossible
Finassets doesn't have separate plugins for WooCommerce, Shopify, Magento, or other CMS platforms. Two connection methods are available: API and Payment Button.
Each CMS needs its own module and ongoing maintenance after platform updates. So having a ready-made plugin on its own doesn't necessarily mean it will keep working reliably on the store's current version.
Not having a plugin doesn't block the connection. API fits platforms that allow working with external requests, and Payment Button can be used wherever code can be inserted on a page.
WooCommerce and Shopify have their own specific integration considerations.
These are covered in the WooCommerce guide and the Shopify guide.
API gives full control over checkout
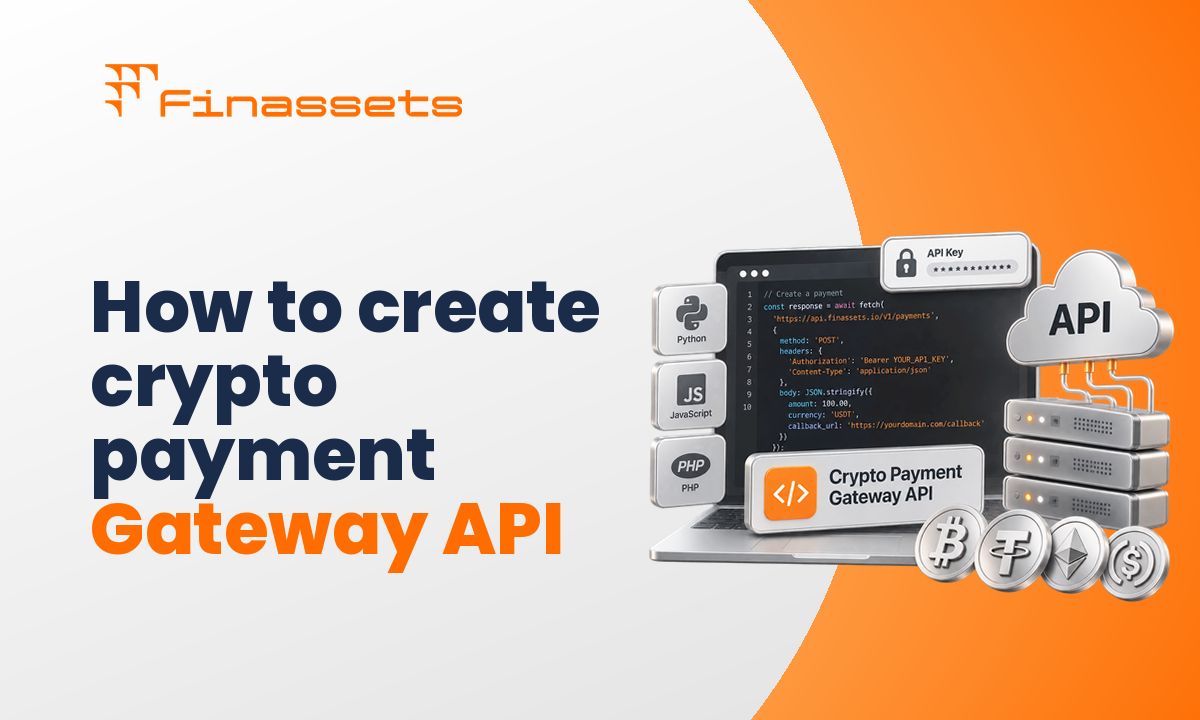
API lets you build crypto payment into checkout as a regular payment method and manage order logic and statuses yourself.
For Checkout API, a Checkout project is first created in Back Office. There you set the company name, assets, reference fiat currency, the side that pays the service fee, the payment waiting time, and redirect/callback URLs. After that, the system issues a Project Key for API calls.
The backend creates the payment through the API and receives CHECKOUT_CREATED and CHECKOUT_UPDATED events via webhook. After checking the amount and status, the store updates the order on its own side. If a webhook isn't delivered, Finassets retries sending it on a set schedule.
Underpayment is handled separately. If the shortfall is under 1% of the amount, the checkout gets the status pending_approval, and the merchant decides whether to accept it or reject it. If the underpayment is more than 1%, the status changes to underpaid until the remainder is paid or the checkout is closed manually.
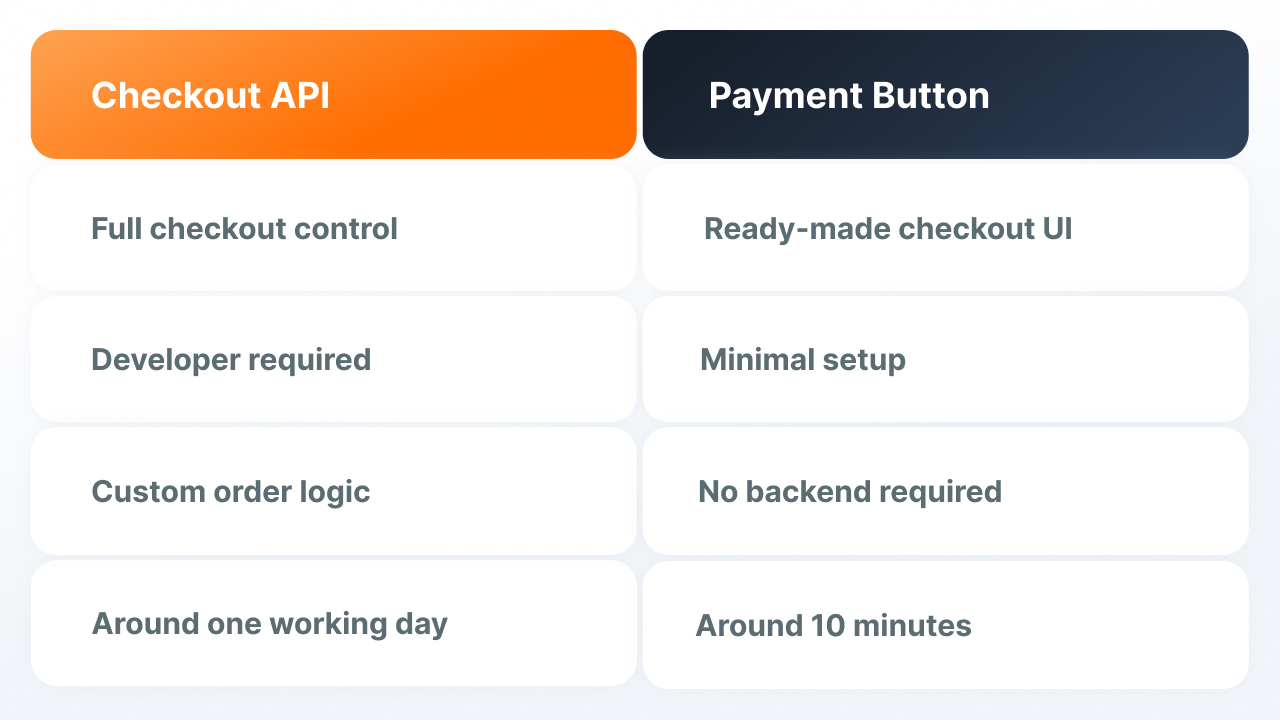
For a team with a developer, basic integration usually fits into about one working day.
Payment Button fits when backend development isn't needed
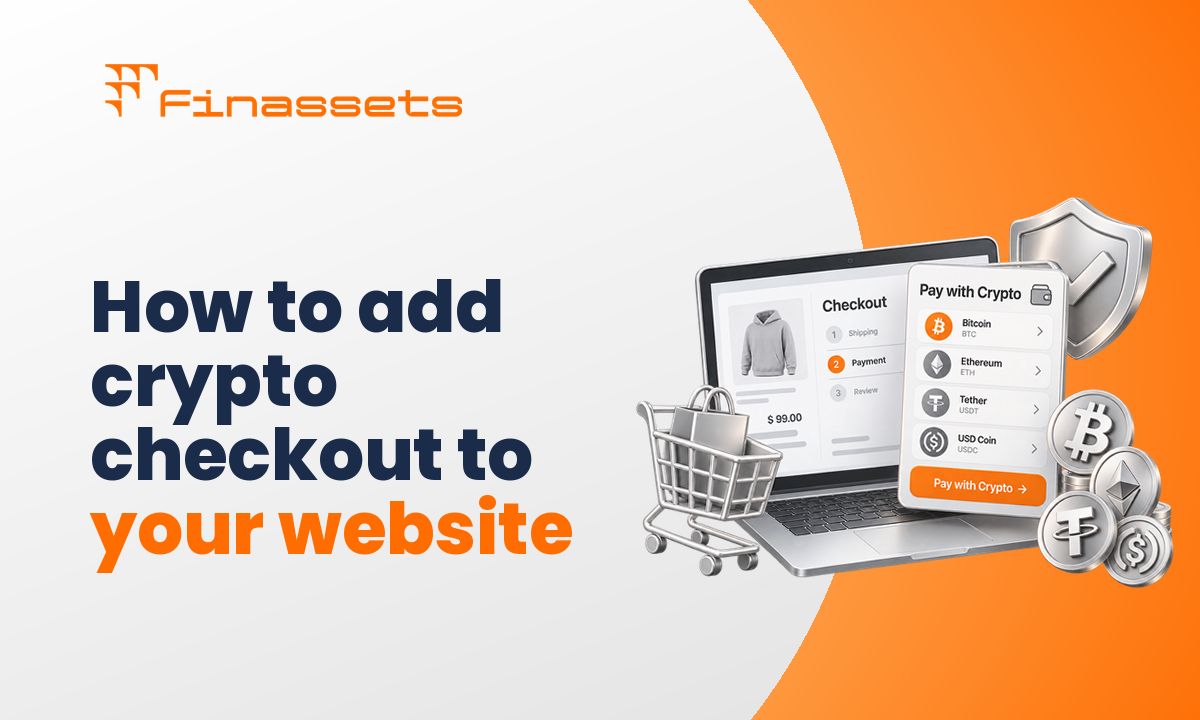
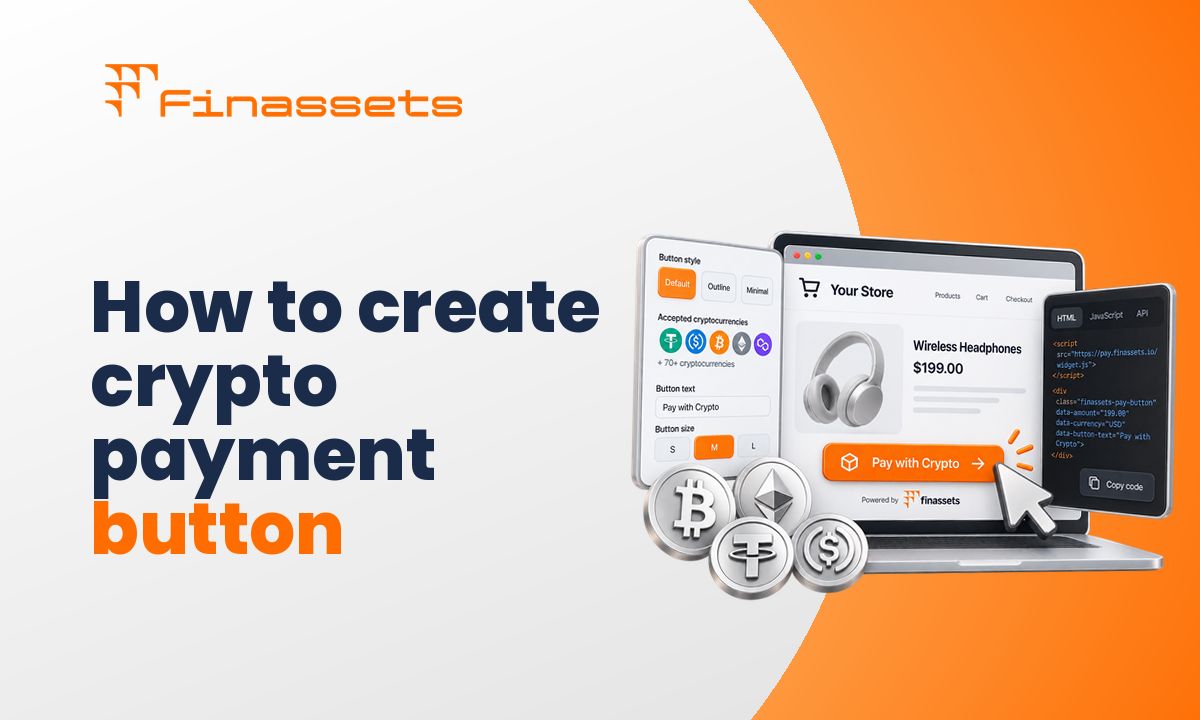
If there's no backend developer, Payment Button can be used. This is a ready-made code snippet inserted on the page that opens checkout on click.
The snippet supports basic order parameters, including PROJECT_KEY, ORDER_ID, TOTAL, product data, button text, theme, and how checkout opens.
Before publishing, Payment Button can be checked in a demo preview in Back Office. Creating a project and getting a Project Key can be done by a user with the Owner or Manager role.
For a basic scenario, no backend is needed. Usually it's enough to insert the snippet and set the parameters, and the history of checkouts created through both Payment Button and API stays in one Back Office with filters and CSV export.
→ See how Payment Button works
The simpler the crypto checkout, the fewer extra steps for the buyer
Checkout abandonment in eCommerce stays high, so extra steps at payment can lower conversion. When choosing an integration, it's important to consider not just the development side, but also how the crypto payment looks to the buyer.
Payment Button and API give different levels of control:
- Payment Button gives a ready-made UI without needing to build checkout from scratch.
- API lets you build crypto payment into an existing checkout and keep the store's own interface.
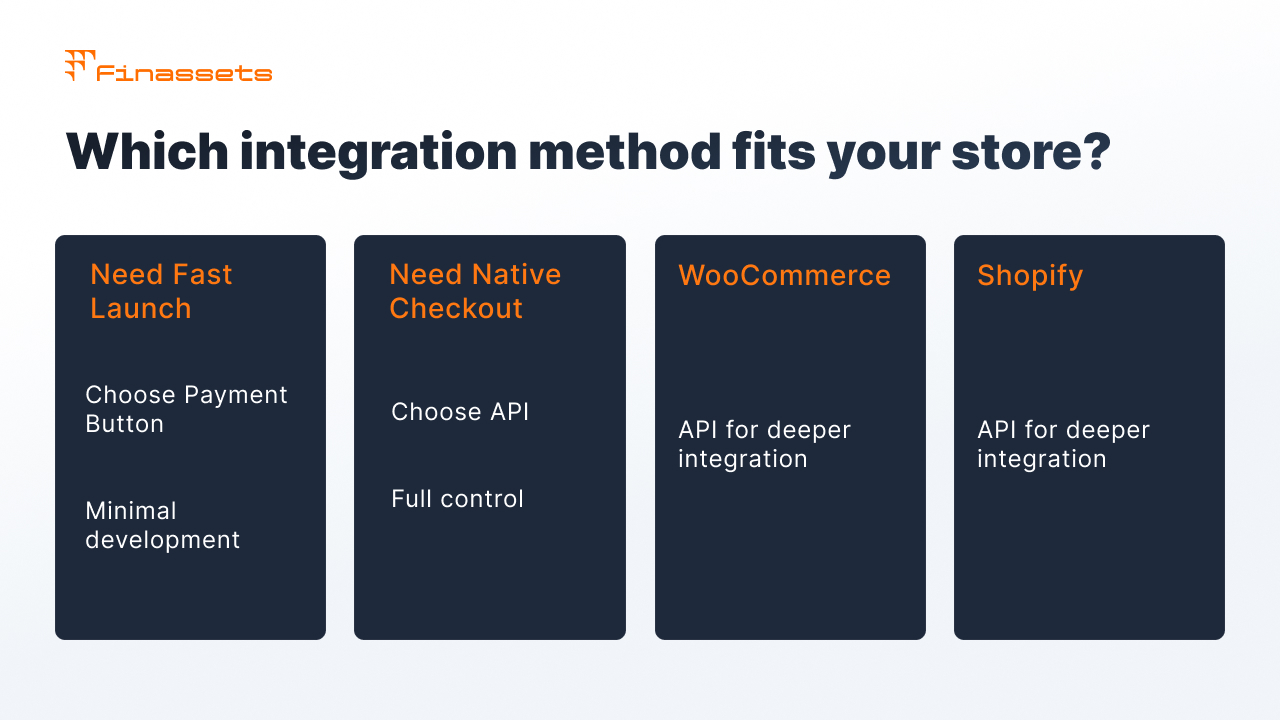
What to choose: plugin, API, or Payment Button
|
Situation |
What to choose |
|
No developer, need to add payment without a backend team |
Payment Button |
|
Have a developer, crypto needs to look like a native payment method in checkout |
API |
|
Store on WooCommerce, needs native-gateway-level integration |
API (WooCommerce guide) |
|
Store on Shopify |
API (Shopify guide) |
What changes depending on the integration method
|
What changes |
What stays the same |
|
How much development is needed at the start: from one day for API to 10 minutes for Payment Button |
An order is only marked paid after the status is verified on the server, not based on a transaction that's simply visible on the blockchain |
|
How much the crypto step looks like a native part of checkout |
Support for partial payments |
|
Whether a backend is needed at all |
The history of all payments, regardless of connection method, is visible in one place in Back Office |
What's changed over the past 12 months
- Checkout as a separate project type in Payment Gateway keeps developing, and the documentation is updated alongside the functionality.
- According to CoinLaw, crypto payment adoption in eCommerce keeps growing, so choosing a connection method is becoming relevant for a larger number of stores (CoinLaw, Crypto Payments Industry Statistics, 2026).
Finassets connects through API or Payment Button
Finassets doesn't have a separate plugin for a specific CMS. Connection is built through Checkout API or Payment Button.
- Checkout API: basic integration for a team with a developer usually takes about a day.
- Payment Button with a ready-made code snippet and demo preview; no backend needed for a basic scenario.
- 70+ crypto assets and a single checkout history in Back Office with filters and CSV export.
- Finassets is registered in Panama. Onboarding usually takes 2–7 business days, subject to KYB and compliance review.
More on solutions for eCommerce: crypto payments for eCommerce at Finassets.
Not every store needs a plugin
The choice depends on the team's resources and the business's focus. Payment Button fits when a fast launch is needed without backend development. API fits a store that needs full control over checkout logic and interface. An external provider fits better for high-risk industries, sectors where traditional payment systems decline transactions more often, set higher fees, or limit service. For example, iGaming, betting, forex, and dating.
The Finassets team can show different connection options for a specific CMS, catalog, and volume.