By Anastasiia M., payments content, covering crypto processing for iGaming and eCommerce.
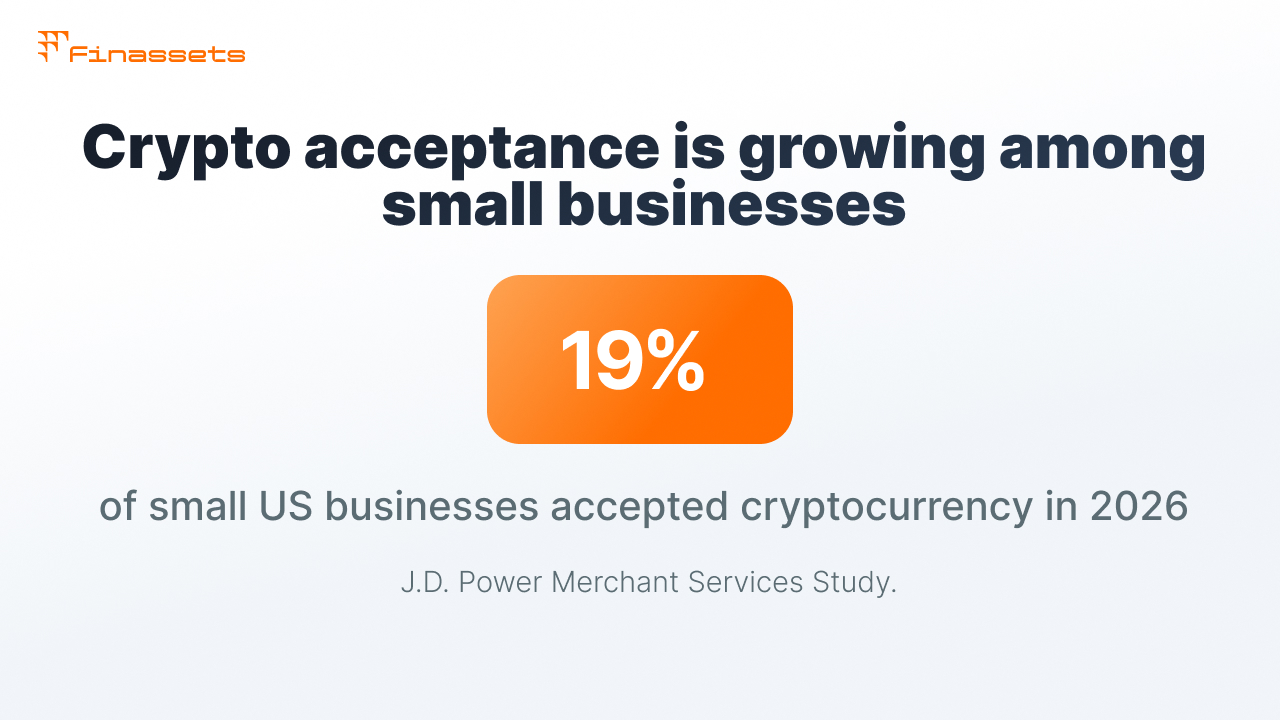
According to J.D. Power, in 2026, 19% of small US businesses accept cryptocurrency, up from 15% a year earlier. Among merchants who don't yet accept crypto payments, some name the complexity of connecting as the main barrier (Ledger Insights, J.D. Power Merchant Services Study).
In this article, we walk through the whole path using the Finassets Payment Button as an example: from registration and choosing assets to setting up Checkout, a test payment, and the first order.
Crypto payment gets added to an existing store
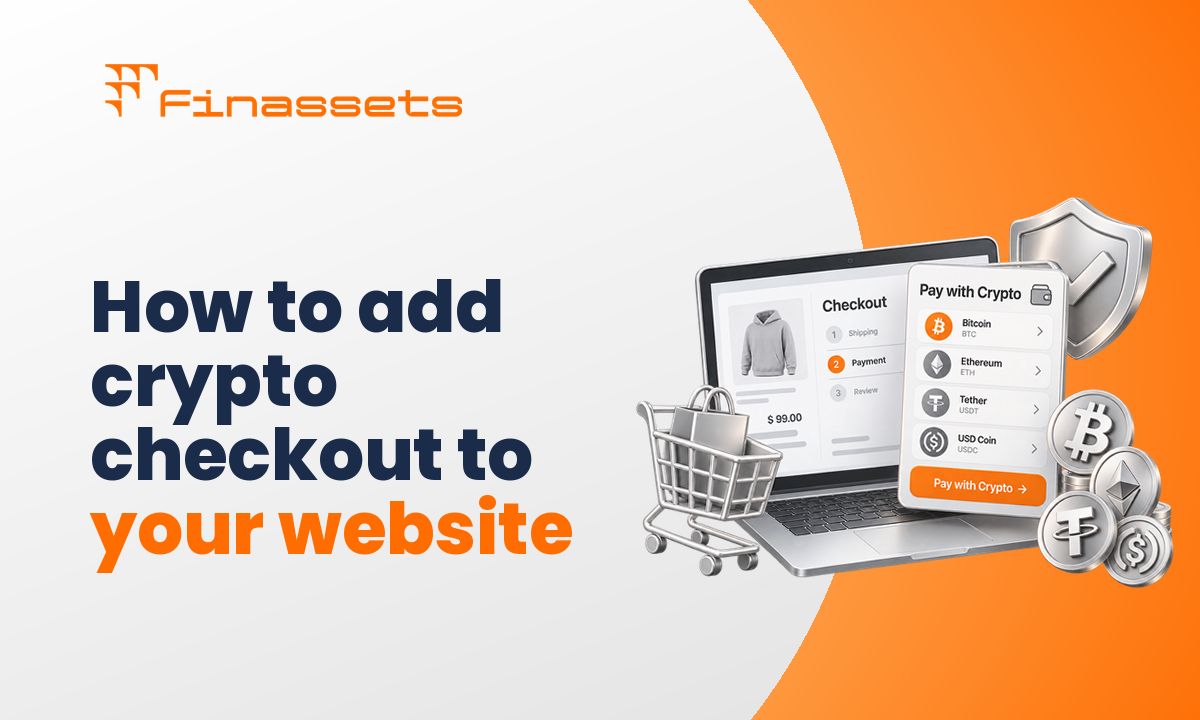
Crypto payment can be added to an already-existing online store, as an additional payment method alongside the usual options. It can also be connected right from launch for a new store. There's no need to build a separate platform or new site for this.
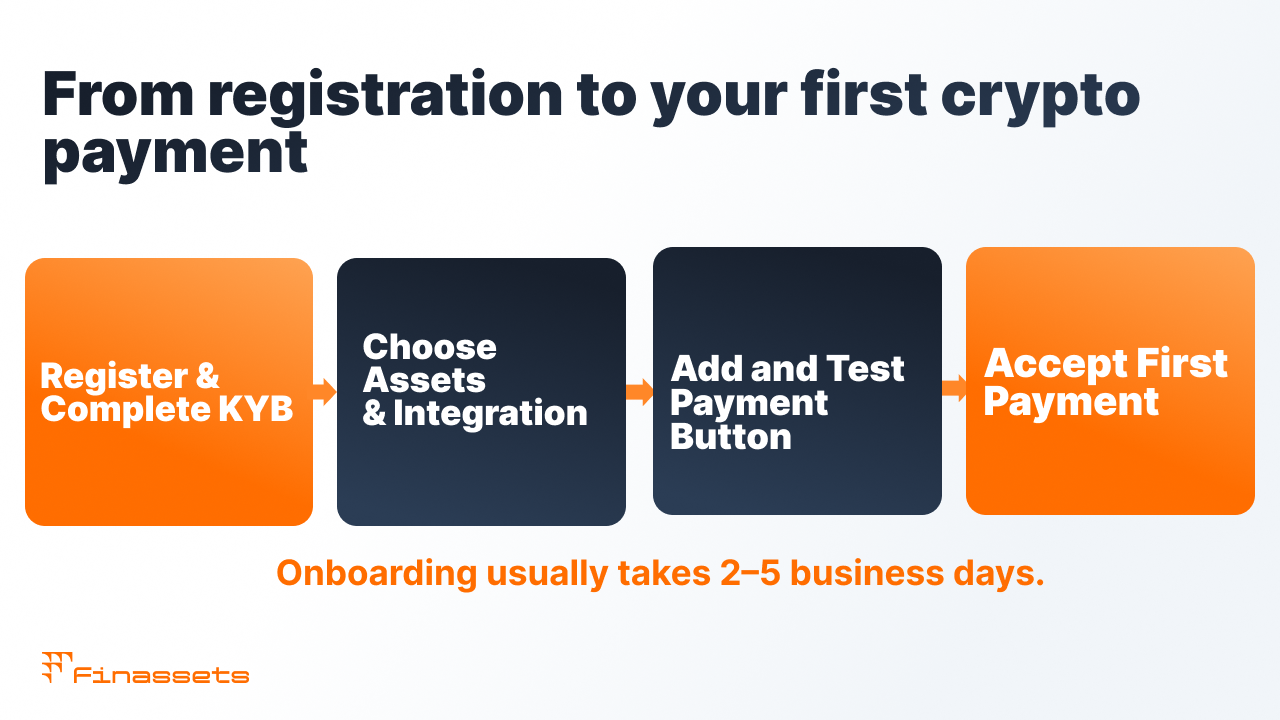
The connection can be broken down into six steps:
- Registration and company verification (KYB) on the Finassets website.
- Choosing a connection method and the cryptocurrencies needed.
- Creating a project in Back Office and setting up checkout.
- Adding Payment Button to the site. The code snippet can be copied from Back Office and inserted into the site.
- Preview and a test payment. This can be checked in Back Office and on the site.
- The buyer's first payment. Payment status shows up in Checkout History. Funds are credited to the balance.
Step 1. Registration and KYB
After registration, the company goes through KYB and compliance review. During the check, the company's legal status, country of registration, and whether its activity meets Finassets' requirements and applicable regulatory restrictions are confirmed. This makes it possible to determine whether a connection is possible, and lowers compliance and legal risks in advance.
Onboarding usually takes 2 to 7 business days.
Step 2. Determine your connection requirements
Before setup, you need to decide how crypto payment will work in the store: which assets will be available to buyers, and which integration method fits your site.
After registration, a Finassets manager will contact you. You can discuss connection requirements with them, ask questions, and choose the right settings.
For accepting payments, you can choose the cryptocurrencies you need. The buyer will only see the assets enabled in the project. The list can be changed at any time.
- USDT and USDC stablecoins. Suited for payments with a fixed value relative to the chosen currency. Available networks depend on the specific asset.
- BTC, ETH, and other floating-rate assets. The payment amount in cryptocurrency is calculated at the current rate, with a set interval for updating it.
- All available assets. The Select All feature lets you enable the entire available list. Finassets supports more than 70 assets.
You also need to decide on the integration method:
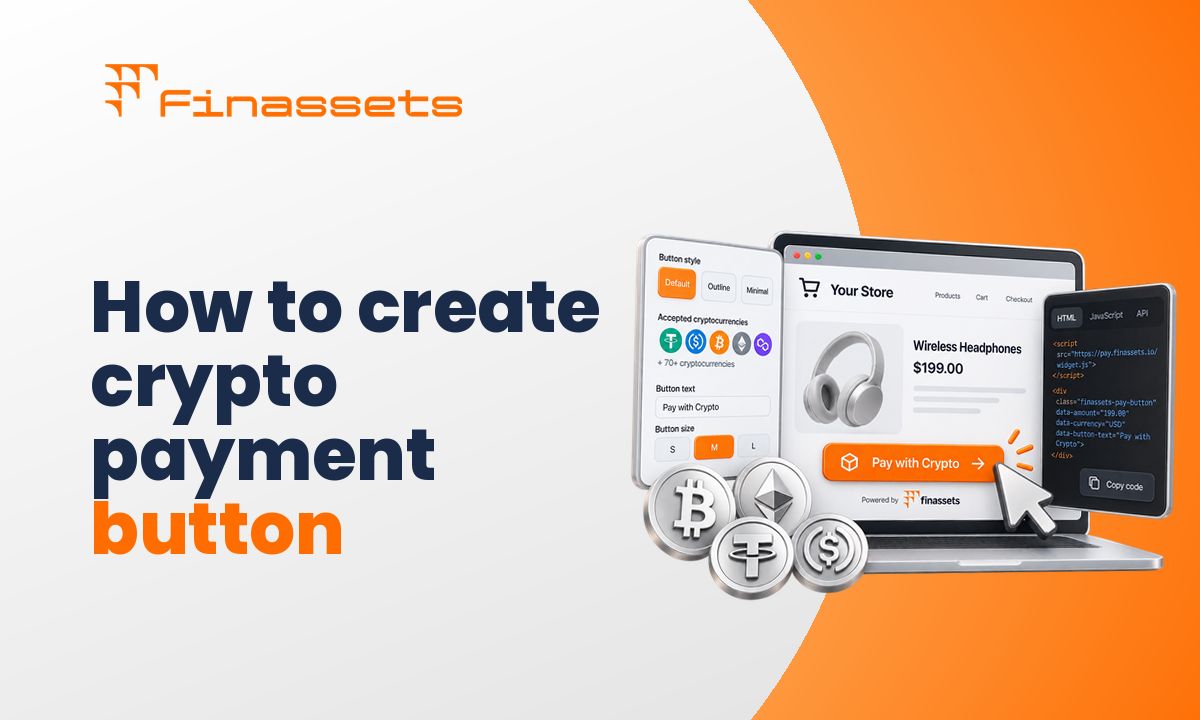
- Payment Button. A ready-made snippet that opens checkout after the button is clicked. Suited for quickly integrating crypto payment into a site without a developer.
- Checkout API. Lets you build crypto payment into your own checkout and receive payment statuses via webhook. Integration requires a developer.
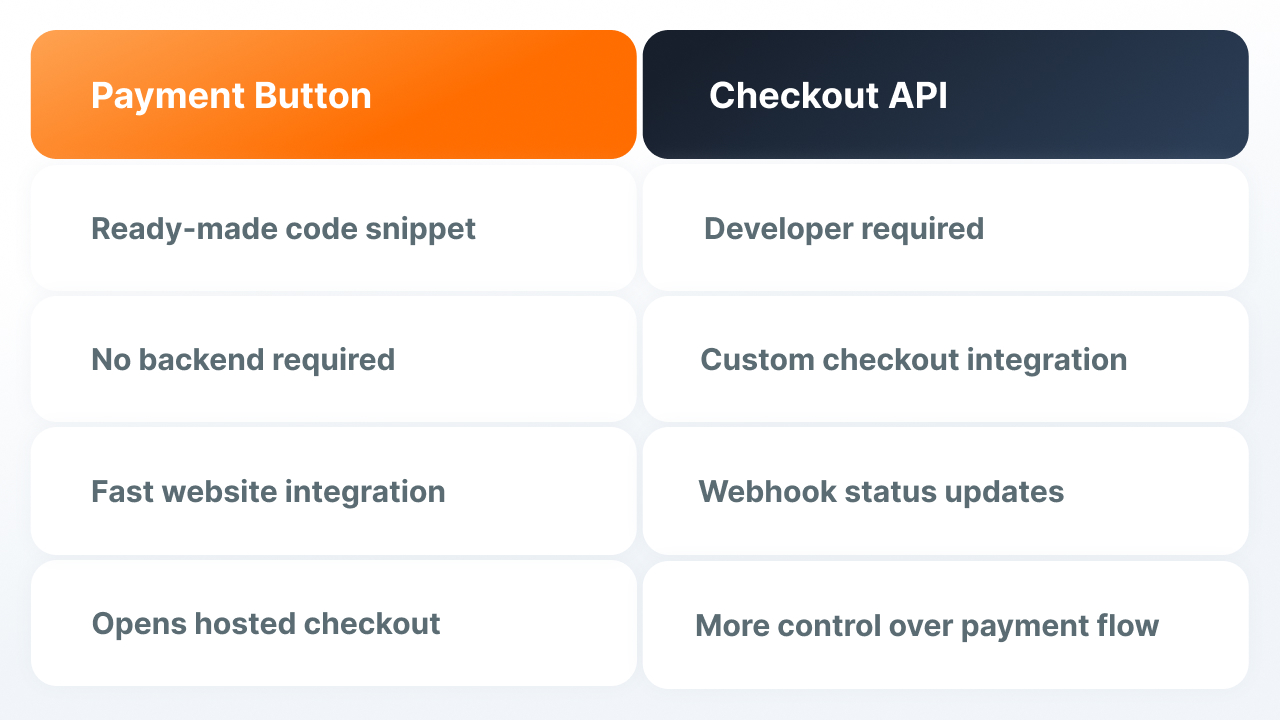
More on integration options:
Step 3. Create a project in Back Office
In Back Office, create a Checkout project to accept payments on your site.
In the project settings, you can choose the available cryptocurrencies, the settlement currency, the company name and logo, the payment time window, and other checkout parameters.
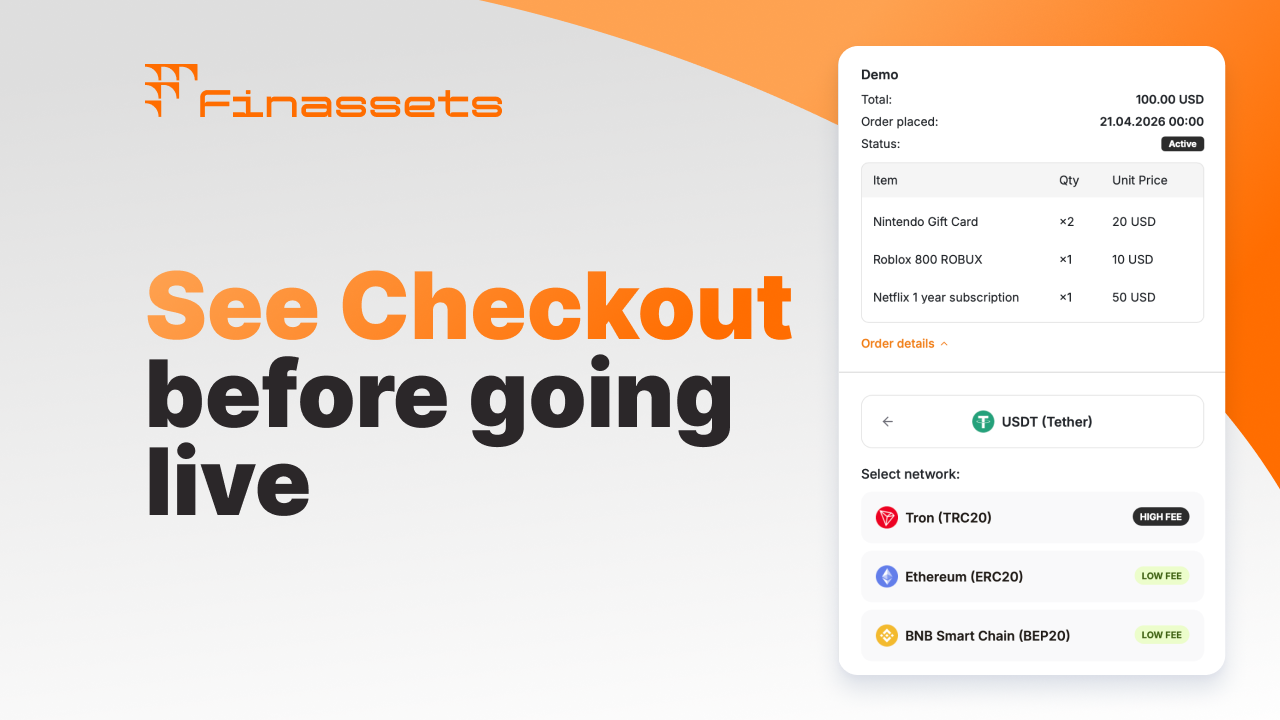
After creating it, you can check what the payment page will look like to the buyer, and adjust the settings if needed.
Step 4. Add Payment Button to your site
Once the project is set up, you can create a Payment Button and add it to the relevant page of your site. Finassets generates ready-made code, which you copy and insert where the payment button should appear.
The button's appearance and text can be customized to fit the site. After clicking it, the buyer gets checkout for paying in crypto.
Step 5. Check checkout before launch
Before publishing, checkout can be previewed through Demo preview in Back Office. After adding Payment Button to the site, run a small test payment and check the buyer's whole journey.
Make sure the company name, available assets, and order amount display correctly in checkout. After payment, the transaction should appear in Checkout History with the status paid.
If you've set up a Redirect URL or Callback URL, check that they work too.
Step 6. Accept payments and track them in Back Office
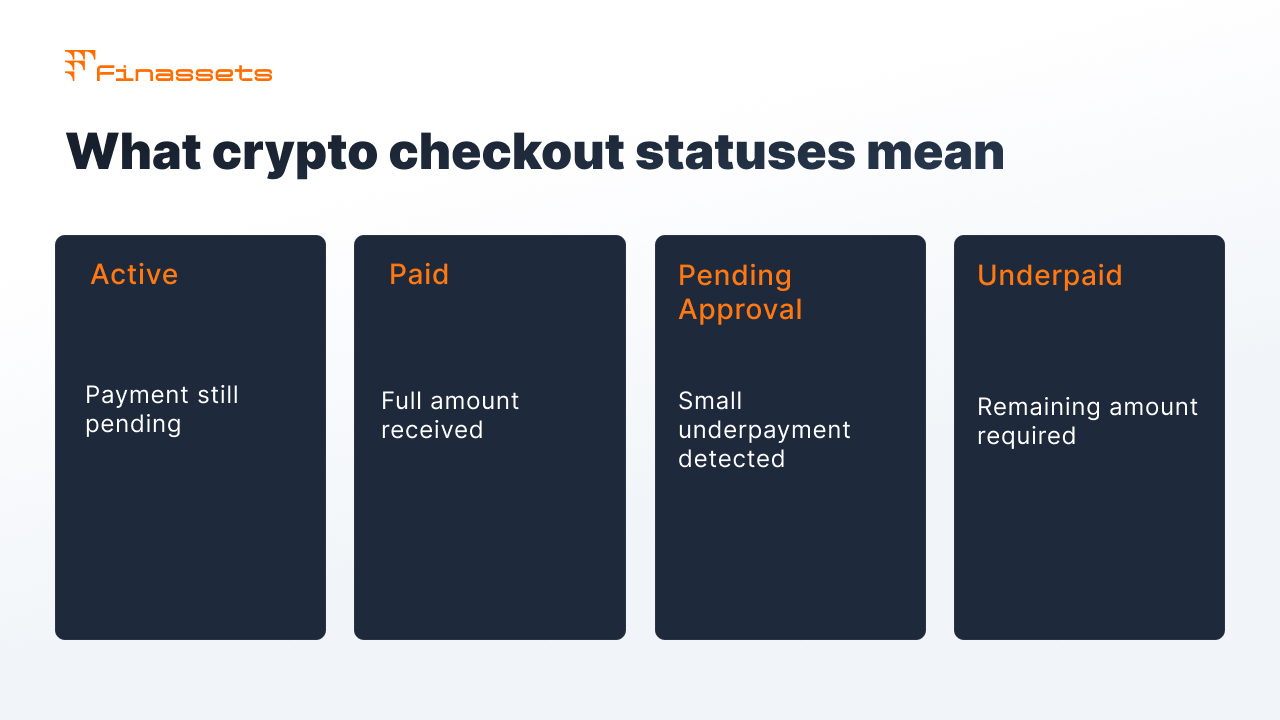
After launch, all payments show up in Checkout History. There you can see the amount, asset, and current payment status.
- The active status means payment is pending.
- paid means the payment was received in full.
- If the buyer sent an insufficient amount, the payment can get the status pending_approval or underpaid.
- In that case, it can be checked and handled manually.
- The history also shows completed, cancelled, and expired checkout sessions.
Manage the funds you receive
After payment, funds arrive on the balance in whichever cryptocurrency the buyer paid with.
In Back Office, you can set up automatic transfer of funds from the deposit wallet via Auto-Sweep, or automatic conversion of one asset into another via Auto-Convert.
Previously added Whitelisted Addresses are used for withdrawing funds.
Check your security settings
Before starting to accept payments, turn on 2FA and check user access permissions.
It's also recommended to add withdrawal addresses in advance and check the Website URL, Redirect URL, Callback URL, and Cancel URL.
If you're using an API Secret Key, save it right after creation, since it won't be shown again.
Payment Button accepts the payment, but the store manages the order
Payment Button creates checkout and tracks the payment. But the order status in the CMS still has to be updated by the store itself, either manually or via Callback URL.
|
What Payment Button does |
What stays on the store's side |
|
Opens a payment window with the chosen assets and amount |
Passing the correct amount or order items to the button |
|
Tracks the payment and assigns the checkout a status |
Marking the order as paid: manually via Checkout History, or automatically if a Callback URL is set up and the site can process it |
|
Shows underpayment as a separate status |
Deciding on pending_approval and underpaid |
|
Stores checkout history with CSV export |
Refunds to the buyer, as a separate transfer: a crypto payment is irreversible |
What's changed over the past 12 months
- The share of small businesses accepting crypto is growing again. Per J.D. Power, 19% in 2026 against 15% in 2025 (Ledger Insights).
- Coinbase Commerce shut down for merchants outside the US and Singapore on March 31, 2026; more than 8,000 merchants had to migrate (MoonPay).
- Checkout at Finassets keeps developing. The Help Center is updated alongside the functionality.
Up to 50% lower payment processing costs in a Finassets eCommerce case
BuySellVouchers has been operating since 2015 and sells digital vouchers and gift cards. The platform's turnover is around $12 million a month.
The company connected Finassets while scaling its business and entering new markets. After switching to the new payment infrastructure, BuySellVouchers reported a reduction in acquiring costs of up to 50% in this case.
The company also noted more stable payment processing and transparent transaction statuses.
"As our volumes grew, processing costs and transaction predictability became critical. Finassets removed payments as a bottleneck, which directly improved realized turnover and simplified day-to-day operations. This is infrastructure we can confidently scale on." — Sergei B., CEO, BuySellVouchers
Accept 70+ crypto assets on your site with a fee starting at 0.20%
Finassets lets you add crypto payment to an existing online store and manage payments through Back Office.
- Payment Button or API to connect payment to your site.
- 70+ crypto assets, including BTC, ETH, USDT, and USDC across different networks.
- Fee from 0.40% down to 0.20% depending on volume. Terms are fixed in the contract.
- Checkout History for viewing payments, amounts, and statuses.
- Support from the Finassets team during connection and setup.
See the Finassets solution for eCommerce
Launch crypto payment acceptance in your store
After registration, a Finassets manager will help you choose an integration option, determine the necessary settings, and prepare your store to accept payments.
Discuss connecting with the Finassets team